A Trio of Thermaltake Towers
by Joshua Buss on August 16, 2006 2:30 AM EST- Posted in
- Cases/Cooling/PSUs
Thermaltake Aguila - Installation
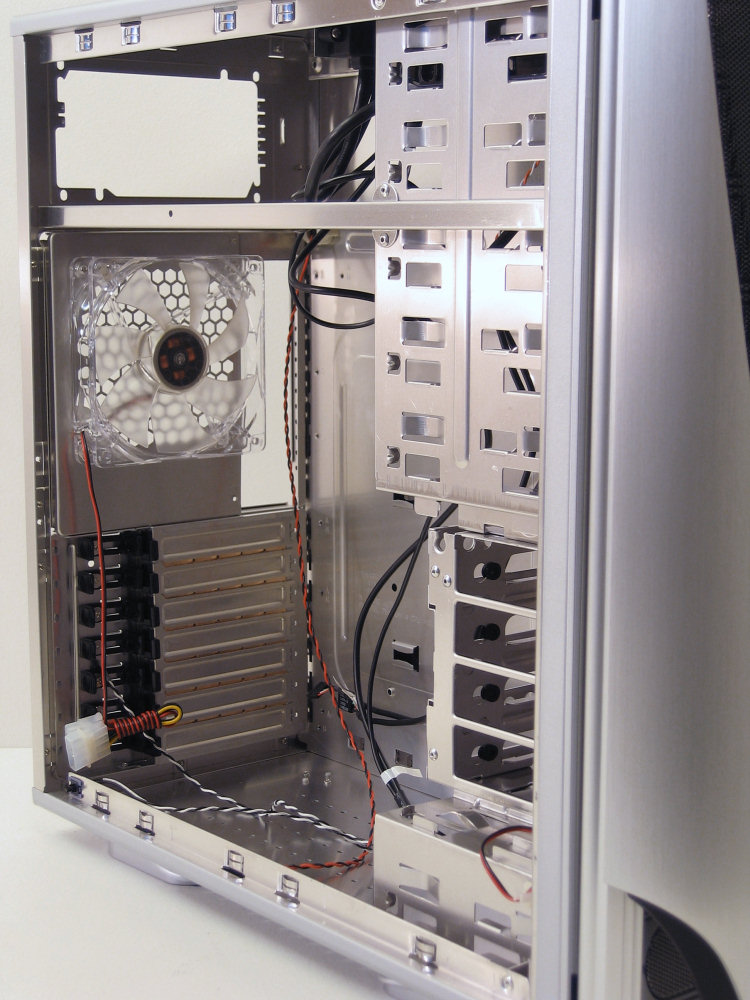
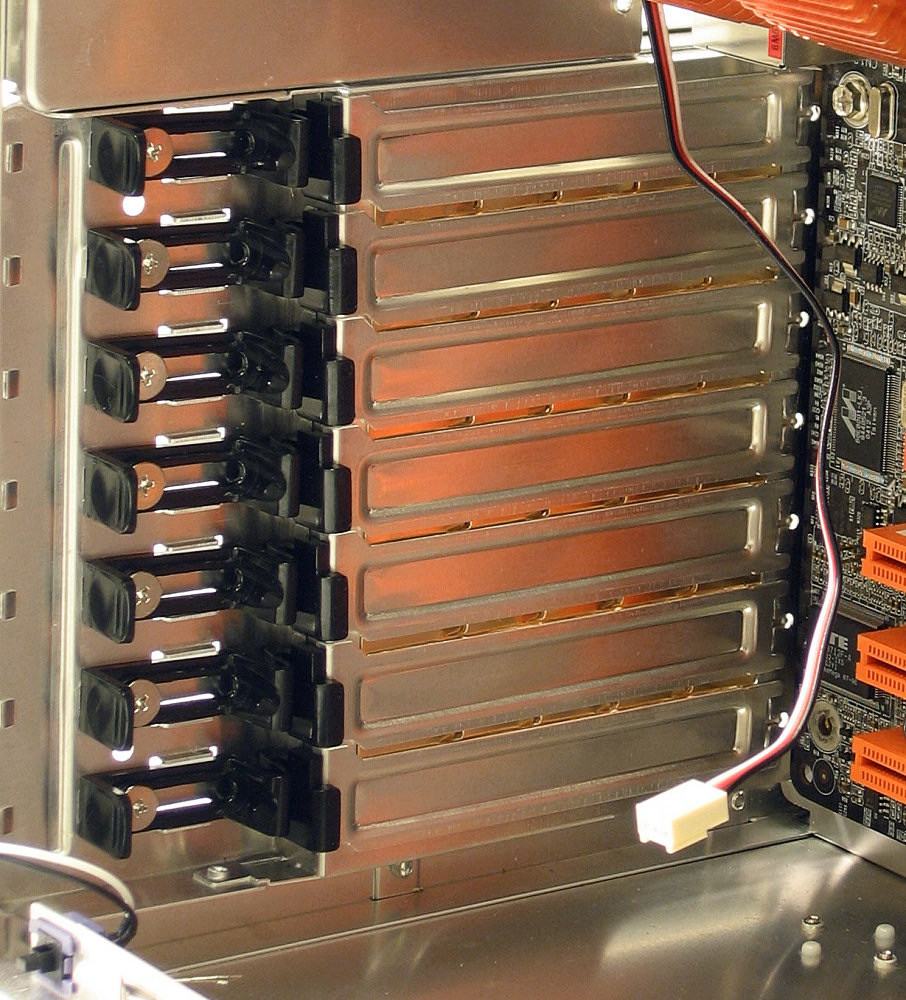
Looking towards the back of the case from the inside we can see the new clips Thermaltake has designed to hold expansion cards in place.
Notice how these simply slide laterally, putting pressure on cards in the exact direction that they need it, and how they can then be secured with the provided screws. It's a little clunky given the reliance on screws at all, considering if one has to use screws (period) they might as well use normal expansion card screws. However, even without using them the clips snap pretty tightly, so technically calling them tool-less is still somewhat correct. In any case, they're still an improvement over the sometimes downright incompatible green clips.
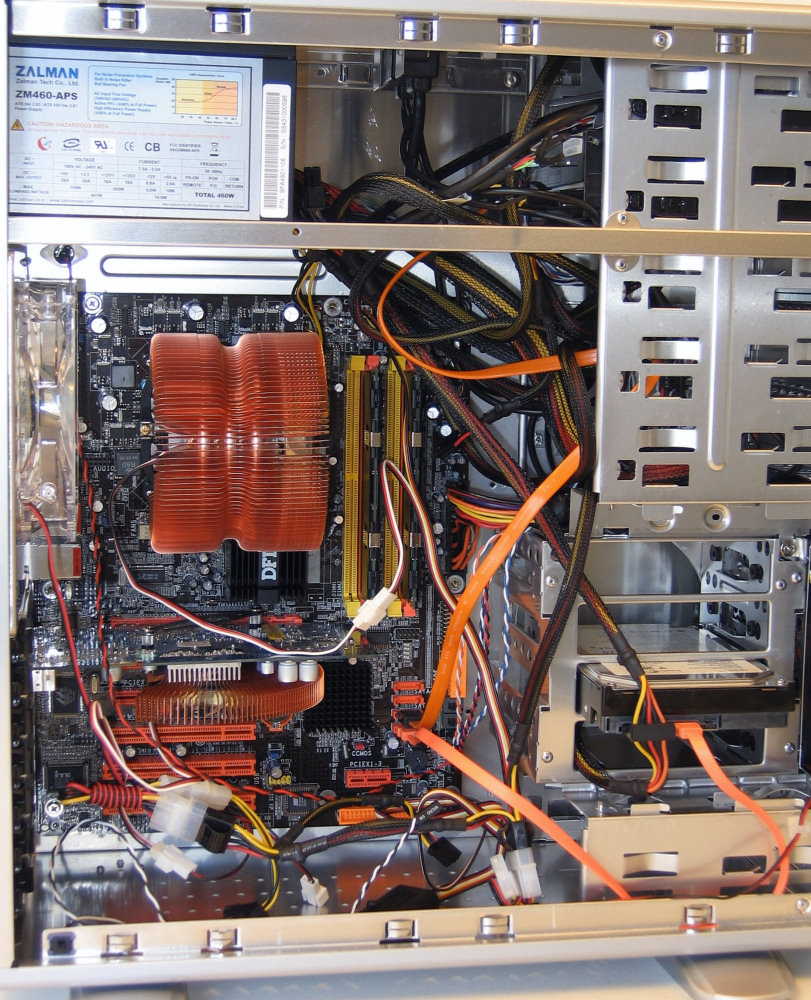
The actual install of our test bed into the Aguila was very straightforward. While we had a lot of options for the optical drive placement, nothing would have really compromised the ease of installation save for choosing the vertical bay.
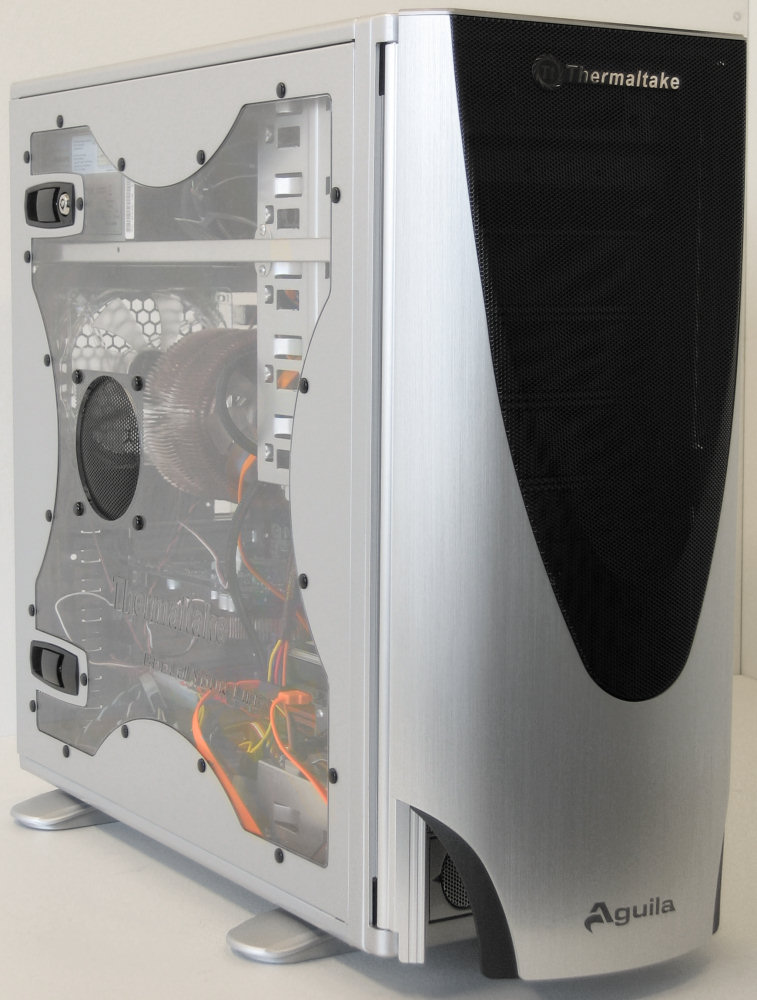
This main image showing the completed build sure shows how a PSU with modular cables could really help keep cable clutter down to a minimum. Also note how it takes a decently long power cord to get to the SATA hard drives because of the sideways mounting design. All things considered there is still quite a bit of room to tuck extra cables out of the way though, and even using our side-facing IDE channel wouldn't be too difficult in the compact chassis.
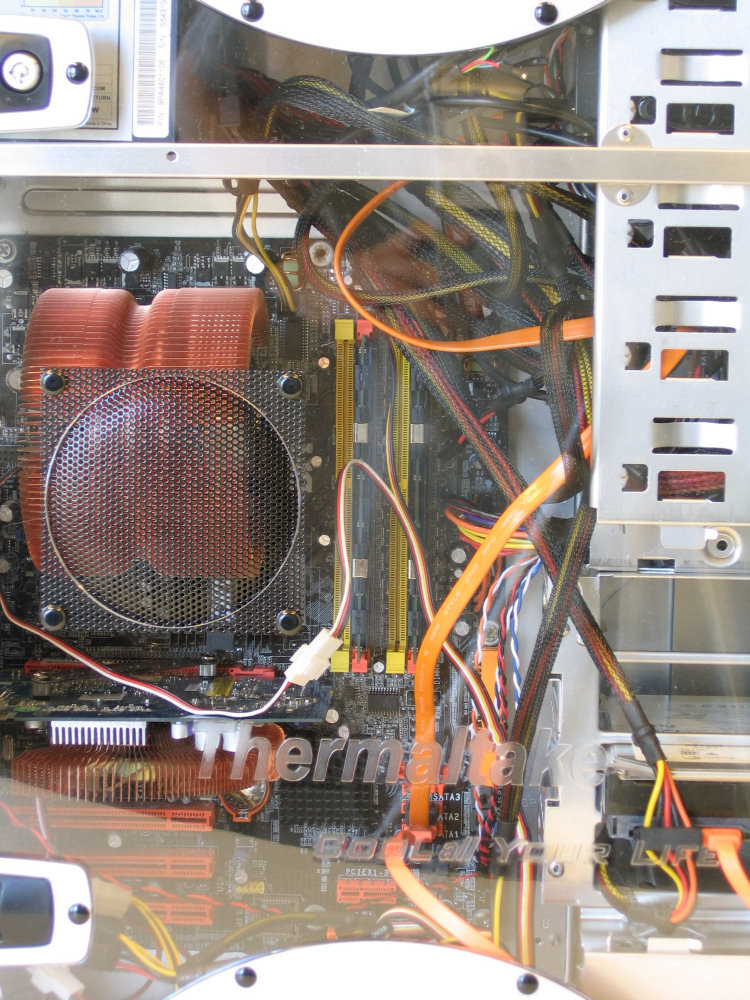
As for the view, with our windowed version of the case the install was plenty visible thanks to the good design of the window which also worked well on the Eclipse DV. Also, the side vent was placed well even if it's not completely necessary in our build.
After finishing the build we wanted to take another look at the finished product. While not quite as subdued as the Eureka, the Aguila overall has a simpler theme for its design than many of Thermaltake's latest cases, and choosing one of the two windowless options available with the case would only further this design direction. More importantly than the looks, however, is the fact that after everything is completely installed the computer felt very sturdy yet thankfully lightweight.
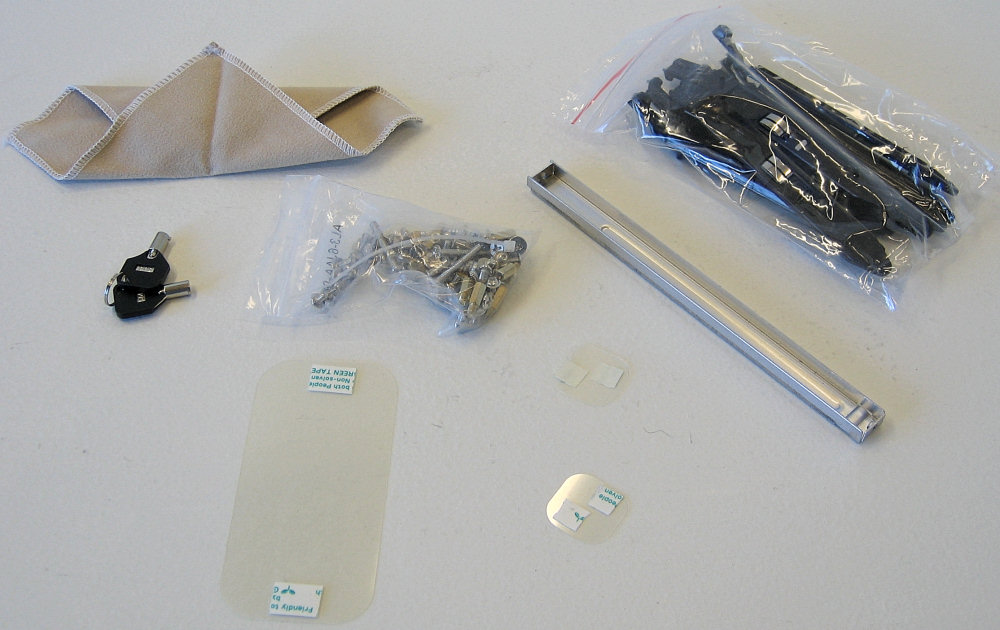
In the accessories area Thermaltake includes an optional PSU support bracket, more than enough case screws, the keys, and two more items a little less standard.
A micro-fiber cleaning cloth for the case will be appreciated by many, and small plastic films with self-adhesive tape can help ensure no contact is made with the case when using a BTX motherboard or components which stick out more than usual.
Looking towards the back of the case from the inside we can see the new clips Thermaltake has designed to hold expansion cards in place.
 |
| Click to enlarge |
Notice how these simply slide laterally, putting pressure on cards in the exact direction that they need it, and how they can then be secured with the provided screws. It's a little clunky given the reliance on screws at all, considering if one has to use screws (period) they might as well use normal expansion card screws. However, even without using them the clips snap pretty tightly, so technically calling them tool-less is still somewhat correct. In any case, they're still an improvement over the sometimes downright incompatible green clips.
 |
| Click to enlarge |
The actual install of our test bed into the Aguila was very straightforward. While we had a lot of options for the optical drive placement, nothing would have really compromised the ease of installation save for choosing the vertical bay.
 |
| Click to enlarge |
This main image showing the completed build sure shows how a PSU with modular cables could really help keep cable clutter down to a minimum. Also note how it takes a decently long power cord to get to the SATA hard drives because of the sideways mounting design. All things considered there is still quite a bit of room to tuck extra cables out of the way though, and even using our side-facing IDE channel wouldn't be too difficult in the compact chassis.
 |
| Click to enlarge |
As for the view, with our windowed version of the case the install was plenty visible thanks to the good design of the window which also worked well on the Eclipse DV. Also, the side vent was placed well even if it's not completely necessary in our build.
 |
| Click to enlarge |
After finishing the build we wanted to take another look at the finished product. While not quite as subdued as the Eureka, the Aguila overall has a simpler theme for its design than many of Thermaltake's latest cases, and choosing one of the two windowless options available with the case would only further this design direction. More importantly than the looks, however, is the fact that after everything is completely installed the computer felt very sturdy yet thankfully lightweight.
In the accessories area Thermaltake includes an optional PSU support bracket, more than enough case screws, the keys, and two more items a little less standard.
 |
| Click to enlarge |
A micro-fiber cleaning cloth for the case will be appreciated by many, and small plastic films with self-adhesive tape can help ensure no contact is made with the case when using a BTX motherboard or components which stick out more than usual.


43 Comments
View All Comments
mostlyprudent - Wednesday, August 16, 2006 - link
I have been wrestling over the case issue recently. I like the looks of the Antec P150, but need door to keep the kids from turning off the PC at random. I like the P180, but it's too big. I've considered the Sonata II, but want a different PSU. Any idea how the Aguila compares performance-wise to the Antec cases?KorruptioN - Wednesday, August 16, 2006 - link
Consider the Antec SLK3000B. No PSU, is decently quiet, very cheap, comes with a door (no lock though), and is about an inch taller. I have one (along with the new NSK6500) and am happy with it.JoshuaBuss - Wednesday, August 16, 2006 - link
The aguila would perform right up there with a p150 in terms of thermals. the p150 would be slightly quieter stock though (assuming you set its tri-speed fans to the slowest speed)